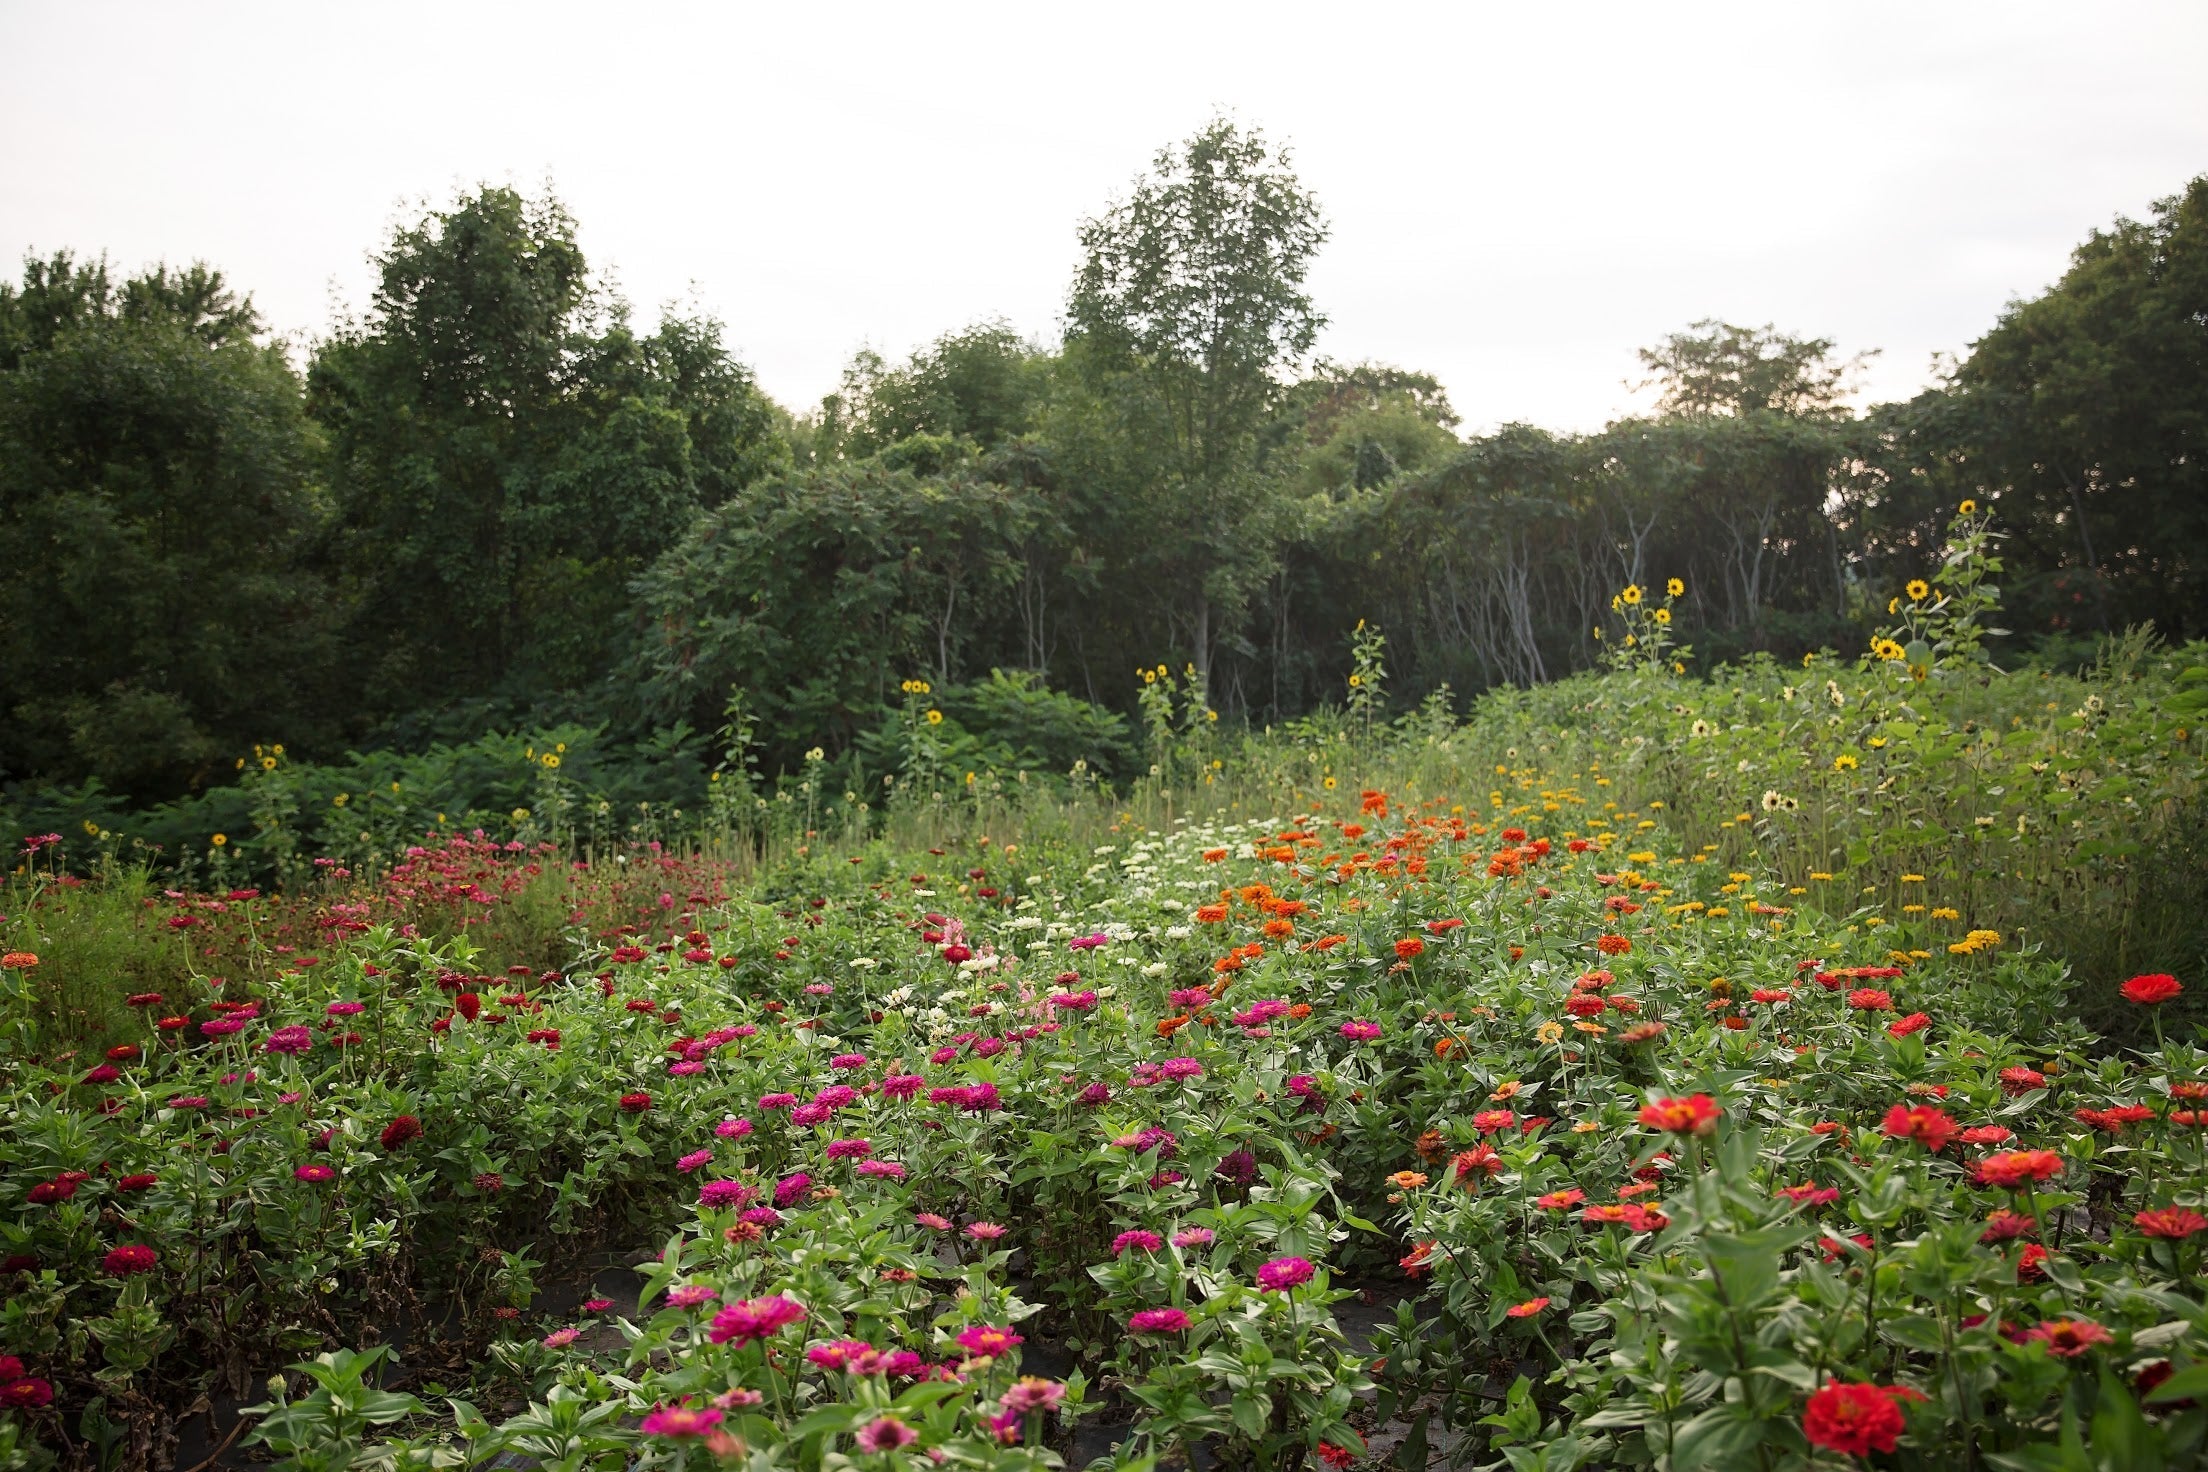
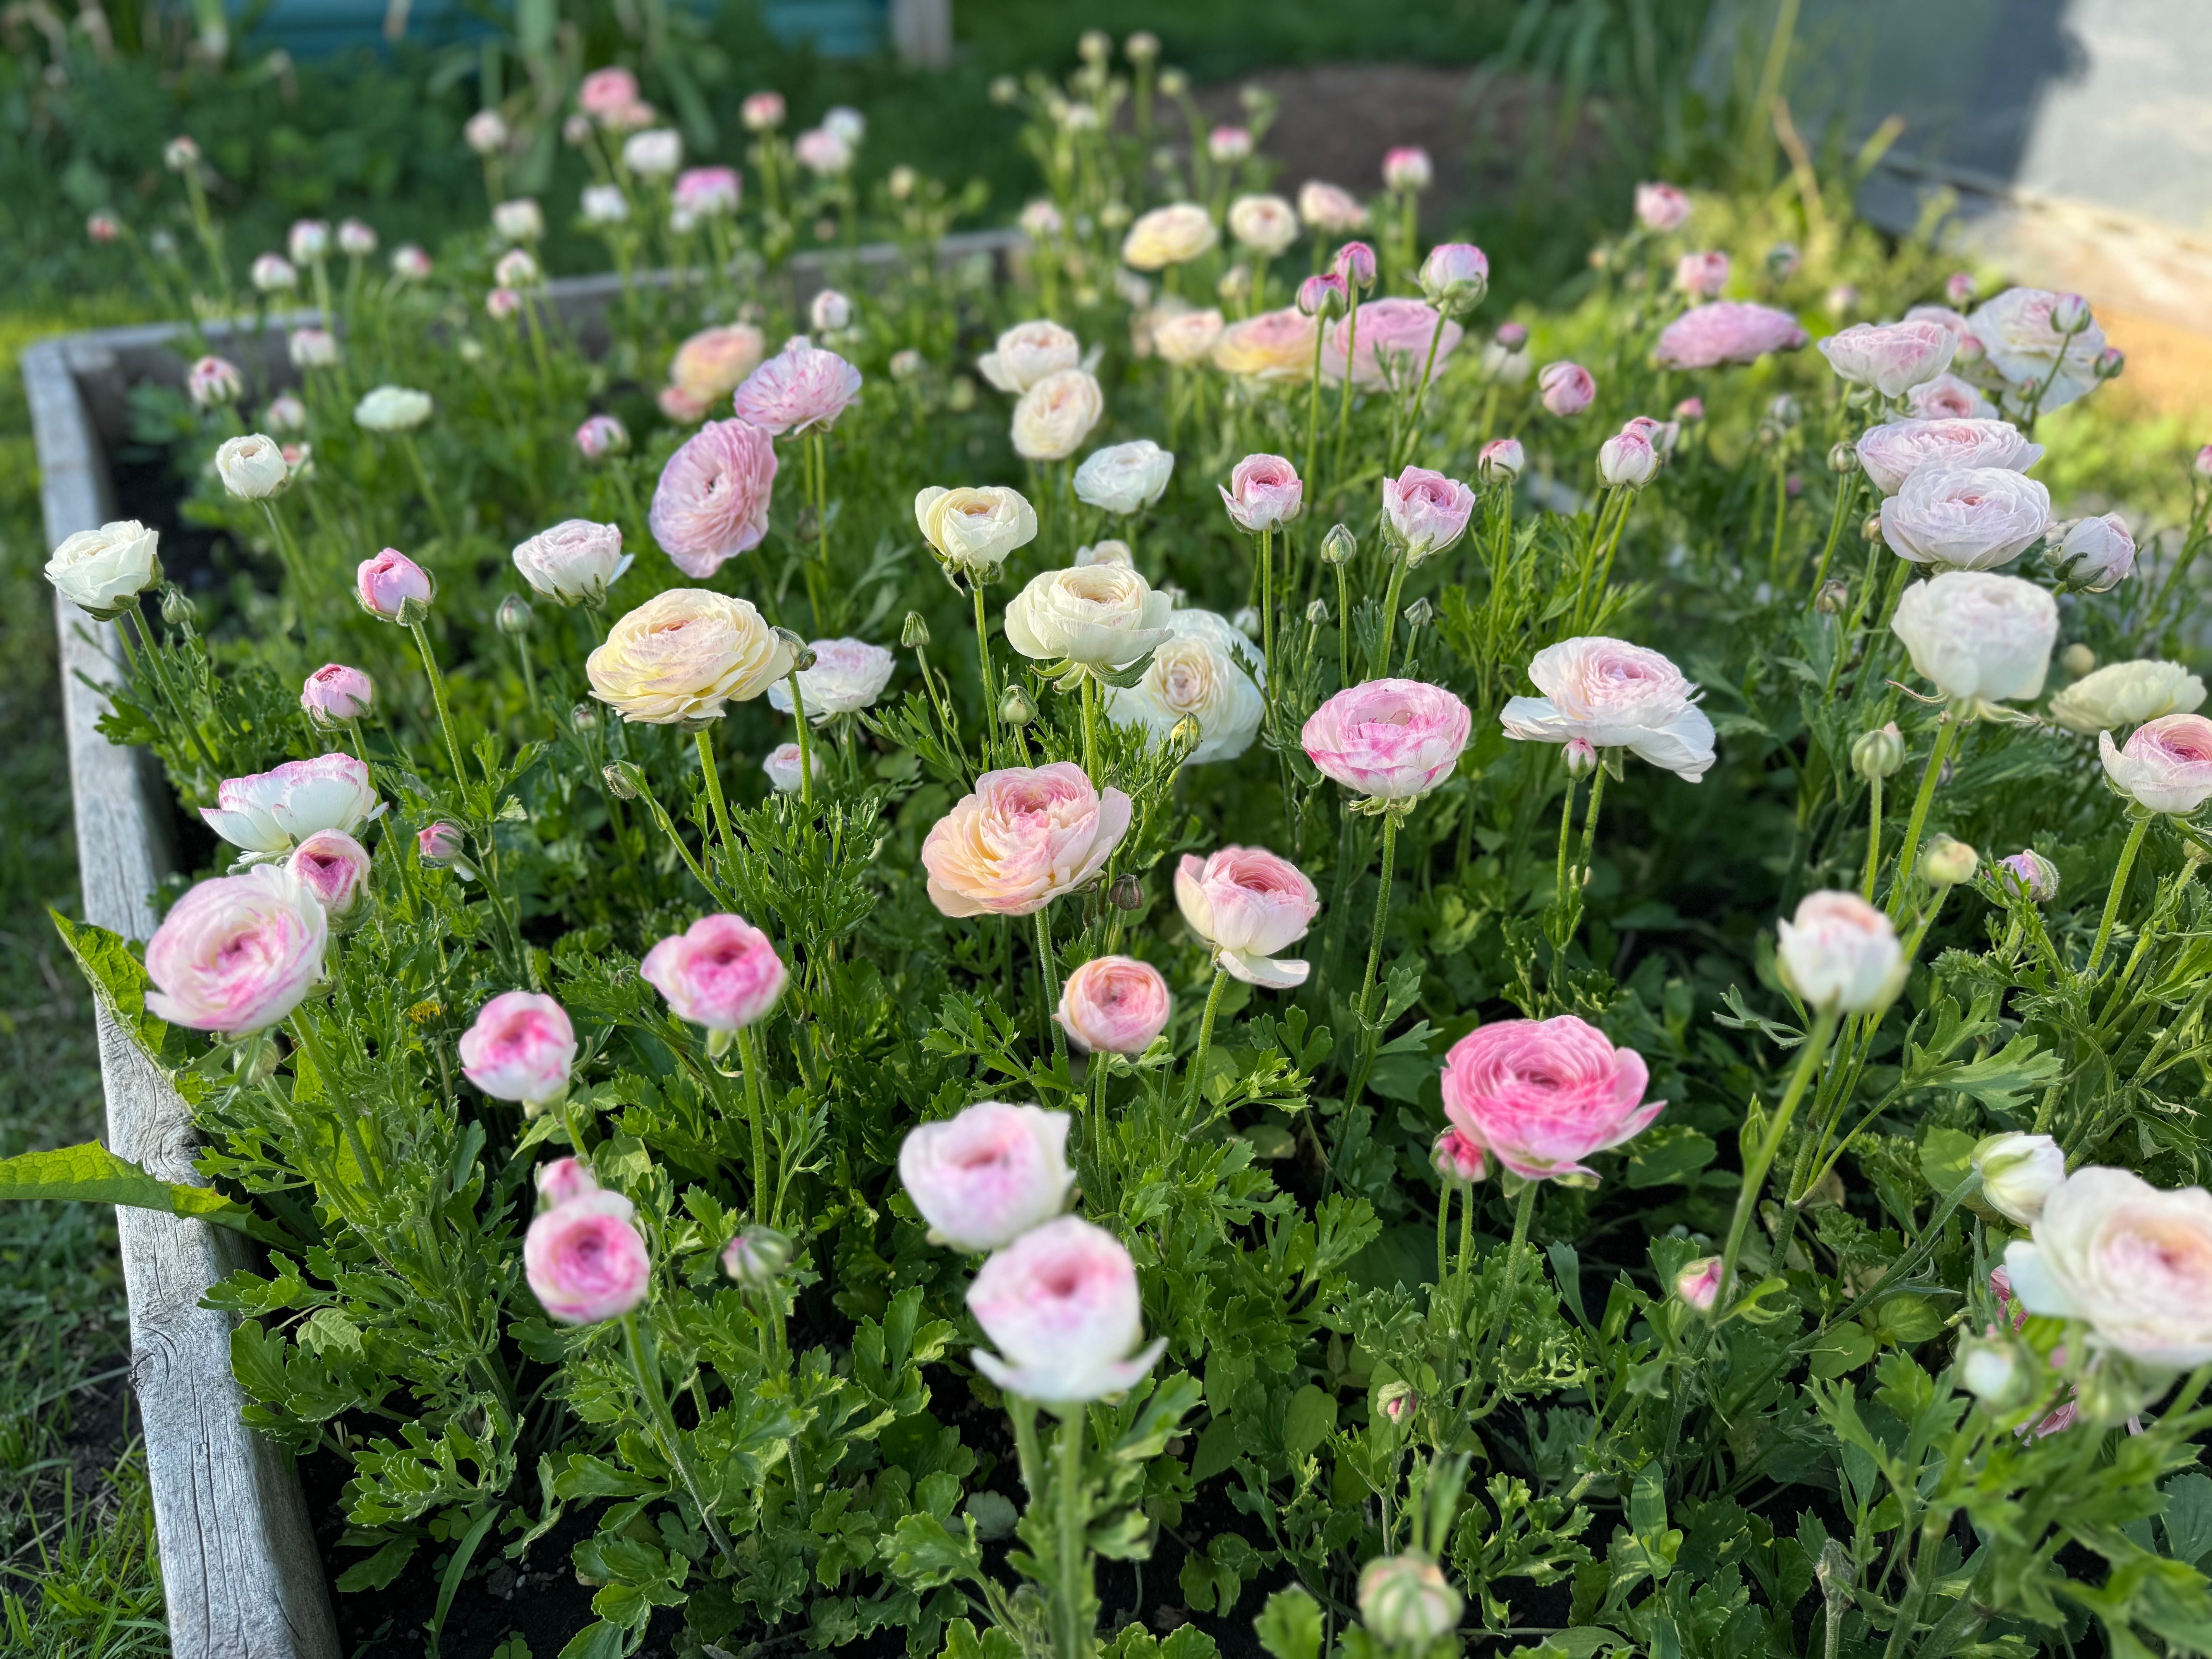
Planting tulip and daffodil bulbs in the fall is one of the most rewarding things you can do in the garden, as you prepare to put your gardens to bed for the winter. Minimal effort in October and November will provide you with an abundance of beautiful blooms in the spring, and seeing those tulips and daffodils poke up through the ground in April is always such a joyful glimpse of what’s to come. Spring blooms are always such a welcome sign in the garden after the long winter months.
Here we’ll walk you through everything you need to know to enjoy a beautiful spring garden. 
When to plant your bulbs
You’ll need to plant your tulip, daffodil, allium, crocus and hyacinth bulbs in the fall, before the ground freezes. Spring flowering bulbs require a period of at least 12 weeks of cold temperatures in order to bloom. For this reason, planting bulbs in the spring will not yield you spring blooms. The dark and cold winter months provide time the bulbs require in order to produce blooms for you in the spring. In colder climates, Zones 4 to 7, we recommend waiting to plant bulbs until October, when the weather is generally a bit cooler. You’ll want to avoid planting your bulbs too early in the fall, so that they don’t begin to sprout before the winter. If timed correctly, planting should take place soon as possible after purchase. However, bulbs can also be stored in the refrigerator if needed until planting. In warmer climates, Zones 8 to 10, spring-flowering bulbs will need to be chilled in the refrigerator for 6 to 10 weeks (depending on the bulb) until the ground cools enough for planting.
You’ll find the following to be a good guideline for when to plant your spring flowering bulbs:
Zones 4 and 5: September to October
Zones 6 and 7: October to early November
Zones 8 and 9: November to early December
Zone 10: Late December to early January

Where to plant your bulbs
Spring flowering bulbs flourish when planted in a location where they’ll receive 6-8 hours of sun each day. The wonderful part of the spring garden is that this means you can plant them almost anywhere! In the early spring the leaves are not yet out on the trees, which means that areas of the garden, which may not have sun at other times of the year, will still work wonderfully for planting spring flowering bulbs. You’ll want to make sure to choose a well drained area. Bulbs do not like wet feet, and they’ll be prone to rot if they’re planted in an area that retains moisture. You may want to consider planting your bulbs in raised garden beds, if you’re concerned about excess moisture in the ground.

How to plant your bulbs
Planting spring flowering bulbs in the garden is one of the easiest and most rewarding fall gardening tasks. With very minimal effort, you’ll be rewarded with an abundance of spring blooms.
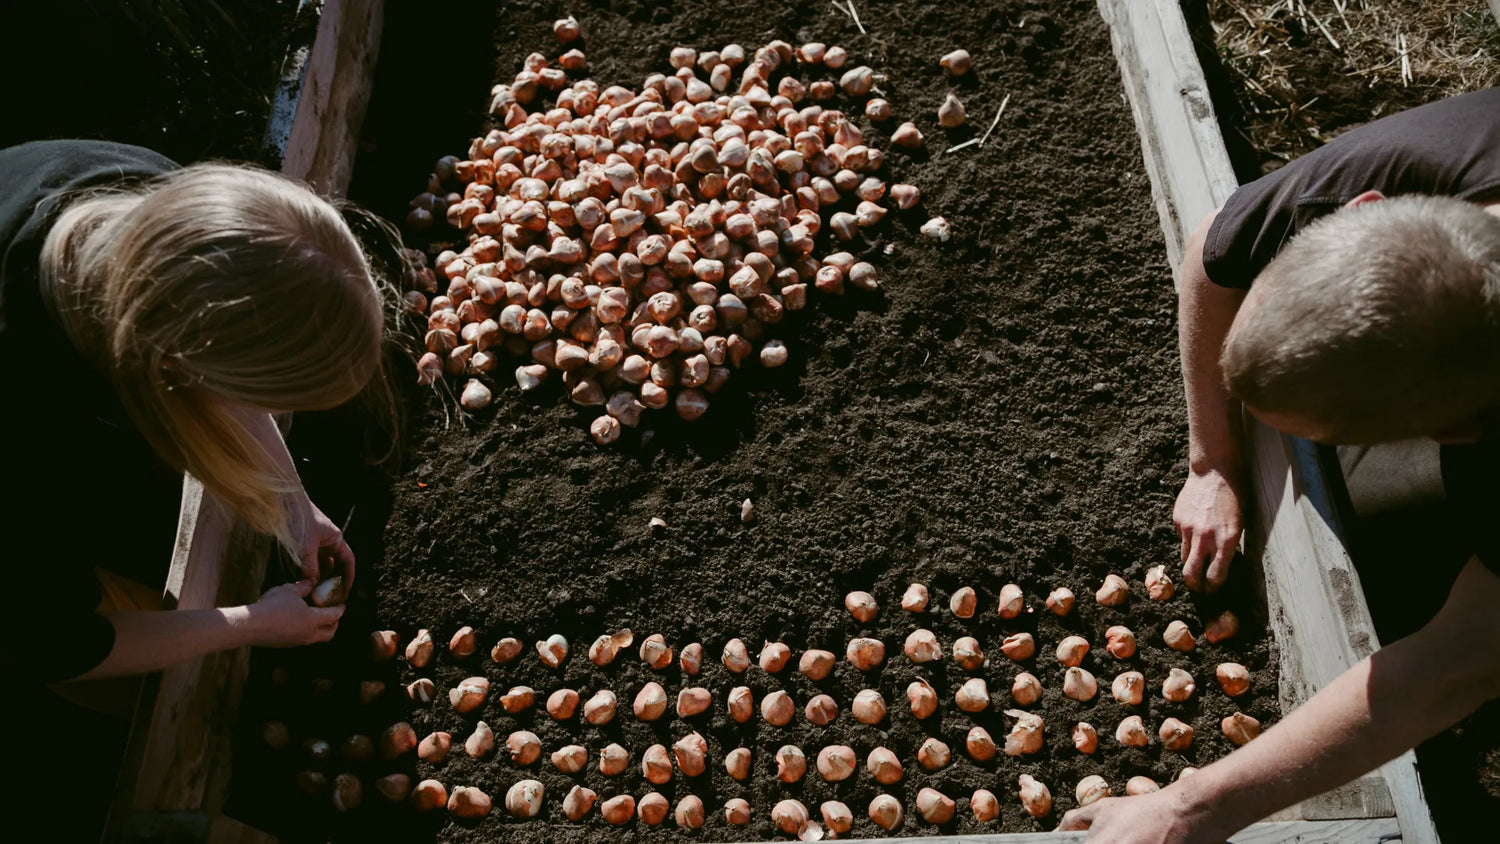
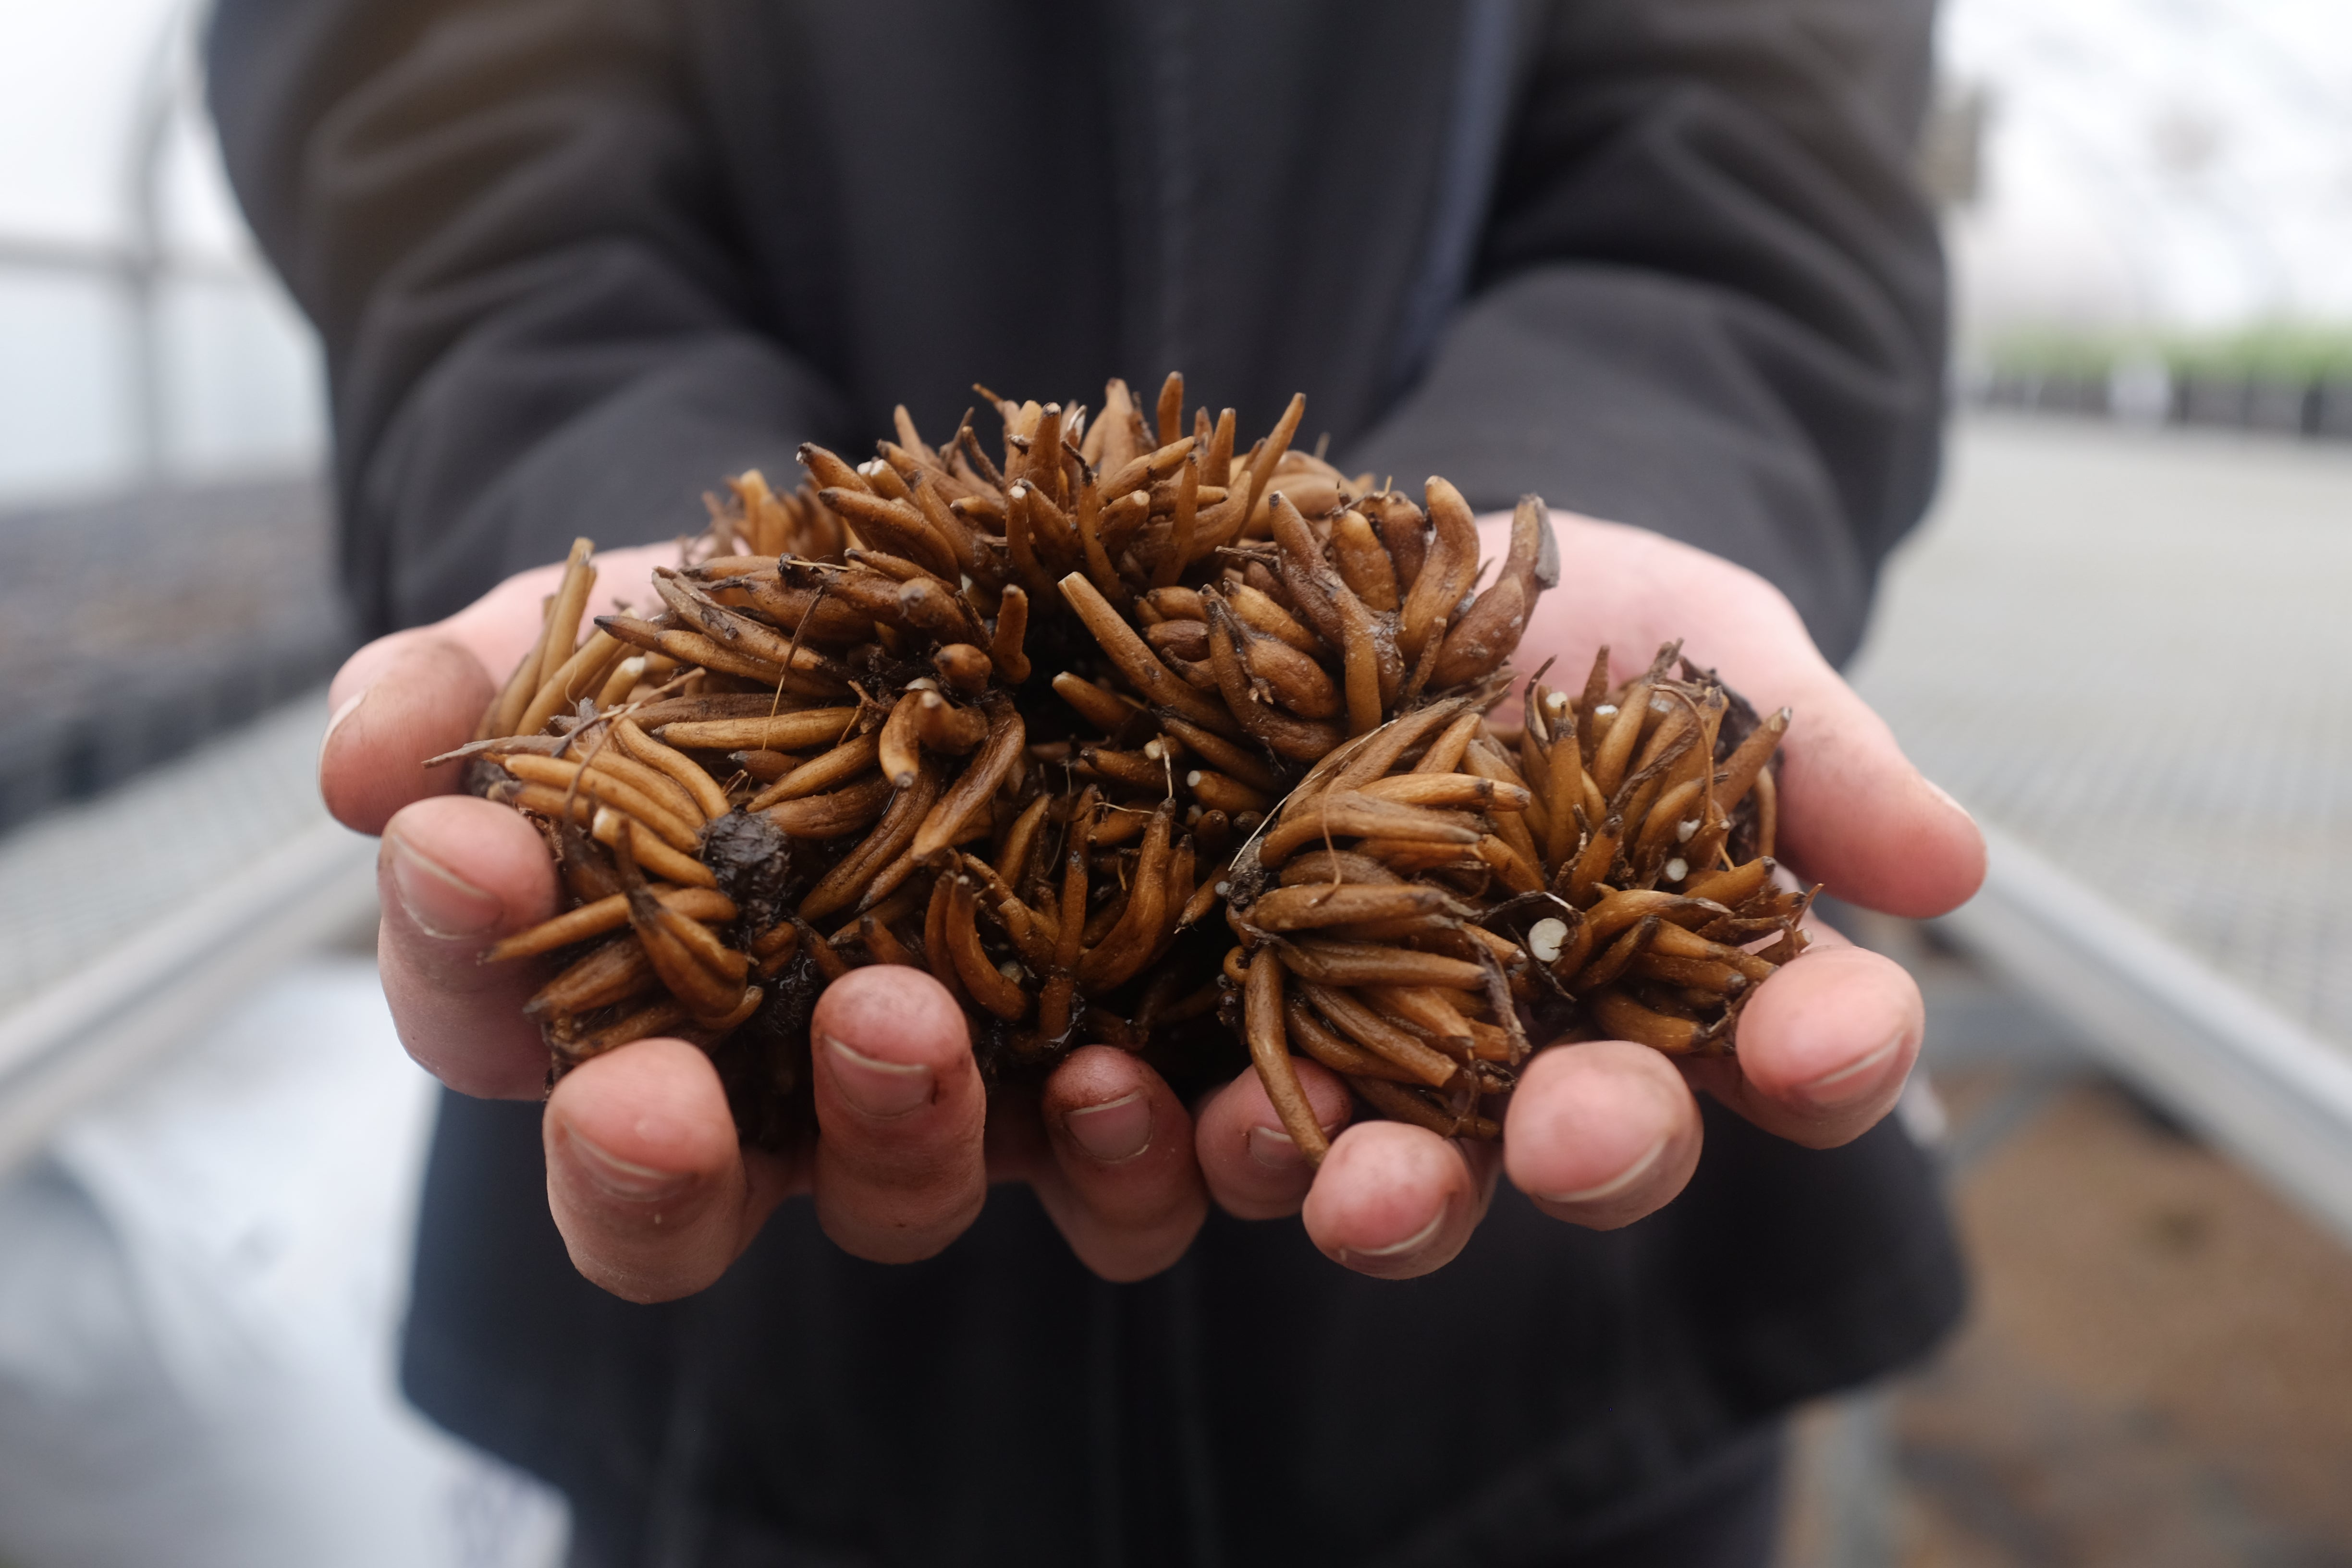
Choose a spot in the garden that is well drained, so that your bulbs don’t encounter wet feet in the spring. When considering planting depth, the general rule of thumb is that bulbs should be planted at a depth 2-3x the size of the bulb. For example, if you have a 3” tulip bulb, you’ll want to plant your bulb 6-9” deep. Here at our farm, we plant most of our bulbs 6-8” deep. Bulbs that are planted too deeply may produce only foliage at the expense of flowers, or not emerge at all. Too deep is better than too shallow, however – when planted too shallow the bulbs are at greater risk of being dug up accidentally, or by squirrels, which will feast on the nutritious bulbs.

You’ll want to space your bulbs 3-4” apart, if you are intending to grow them in the garden as perennials. If you’re considering growing your tulips as annuals, for cut flower production, you can space your bulbs much closer. We’ll discuss how to grow tulips as cut flowers in another article, the information here is for planting bulbs in your home gardens. Don’t be afraid to plant your bulbs amongst your other garden perennials. By the time your perennials are ready to lease out and begin to grow, your spring flowering bulbs will be finishing and beginning to die back.

Don’t feel overwhelmed by the thought of needing to dig a new hole for every single bulb you plant. We’ve always found that bulbs look the best, and most natural, when planted in clumps in the garden. Here at our farm, we will often dig a larger hole, place 10 or so bulbs of the same variety in the hole, and then backfill the hole. It’s easy to feel daunted by the thought of digging 100 holes to plant 100 bulbs, but it’s much easier to just dig 10 larger holes and plant 10 clumps of bulbs in the garden. You’ll find that this provides a very natural look, as mother nature often grows her plants in clumps and suites, as opposed to individual polka dots throughout a landscape.
Most bulbs look very similar to Hershey‘s kisses, and you’ll want to plant them with the pointy side up. Bulbs do you have a way of correcting themselves over the winter if they are planted on their sides, but it helps to save them the trouble and plant them pointy side up to start.

Water your bulbs thoroughly once planted, and water them once more before the ground freezes. If you live in an area that receives regular fall rains, you may not need to water again after the initial watering you’ve done after planting.
Feeding your bulbs
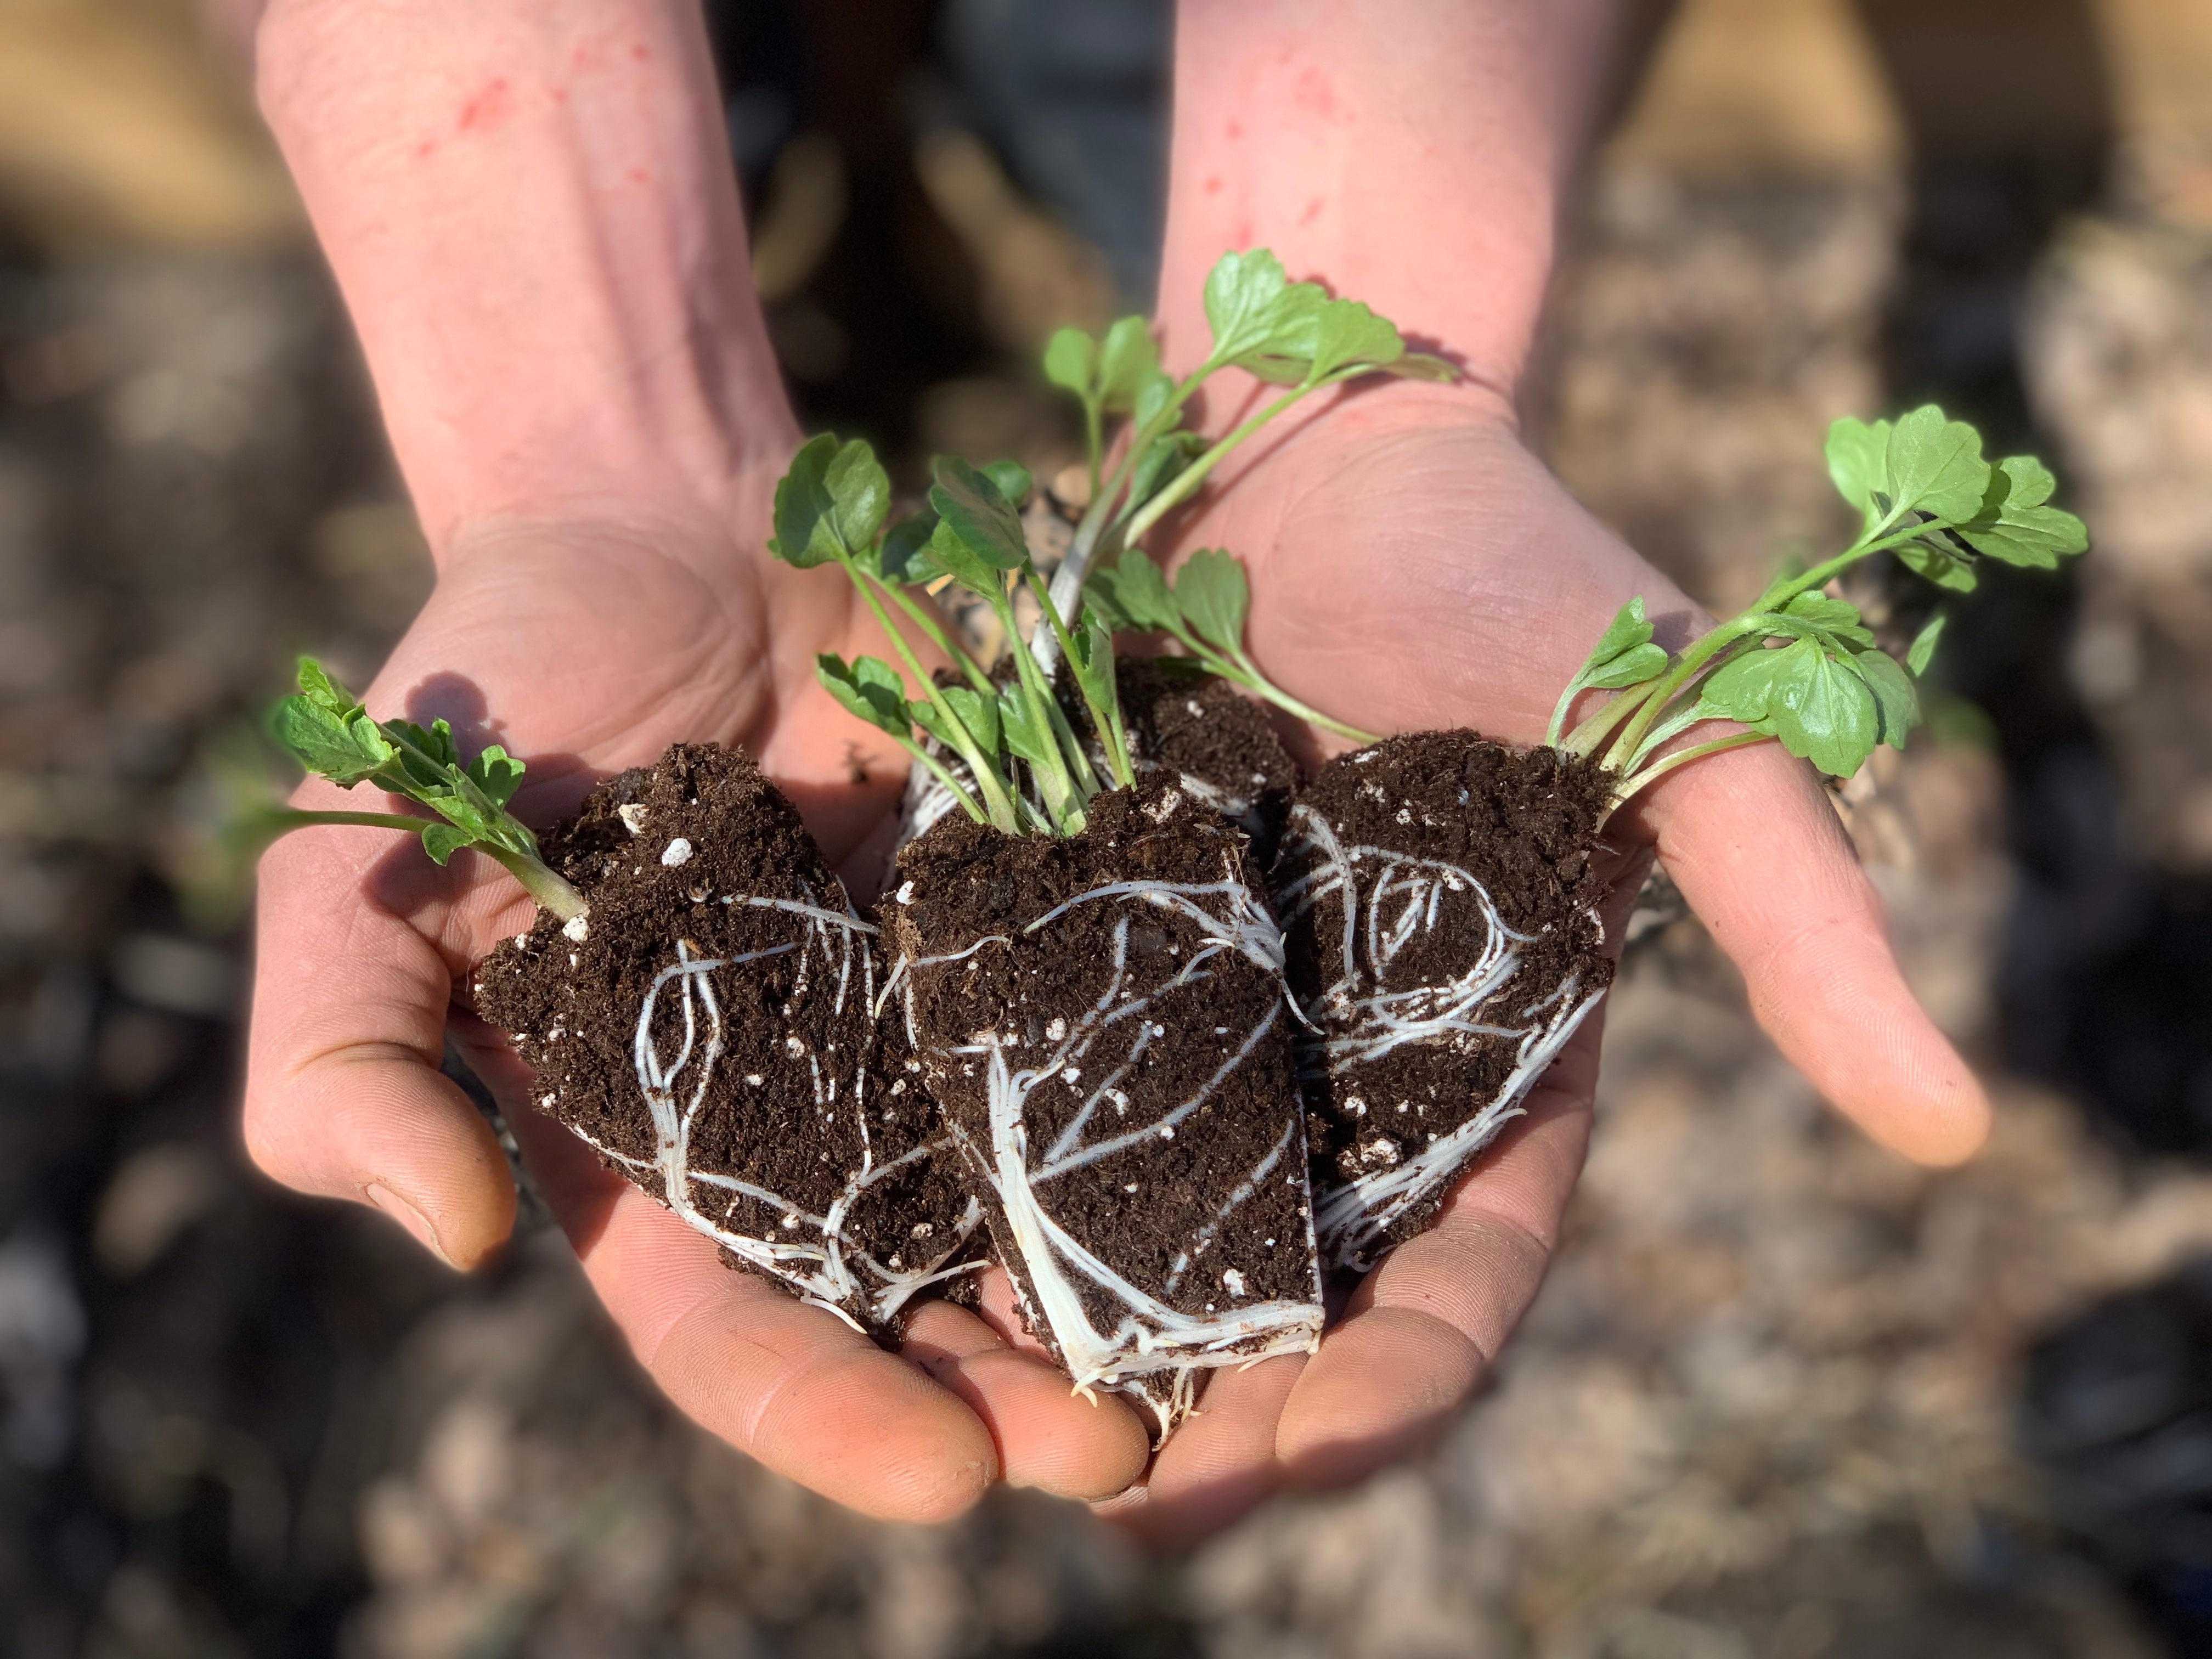
Bulbs already have the embryo of next year's flowers inside them, so there is no need to fertilize the bulbs as you're planting them. If your soil is poor or lacking nutrients, you can mix a small handful of bone meal or balanced fertilizer into the planting hole. In the spring when foliage is emerging, you can fertilize bulbs sparingly to help them form next year’s embryo. When your bulbs have finished flowering, allow the foliage to yellow and die back naturally. Do not cut the foliage off before this process occurs. This process feeds the bulb, helping it to form next year’s bloom.

Are Tulips and daffodils perennials?
Many of us grew up in our grandparents' gardens, where the same red and yellow tulips, and classic yellow daffodils, popped up every spring, year after year, for decades. We have hedgerows here at the farm where those classic red tulips have been blooming for 5 decades now! Today’s modern tulips and daffodils do not have the same lasting power that those old standby red and yellow blooms have. And as hybridizer‘s breed tulips with more interesting colours and shapes (the beautiful double tulips, and ruffled parrot tulips that we all love so much!) we get to enjoy fancy new additions to the garden, but they simply are not as hardy. The beautiful fancy tulips and daffodils that we grow here on our farm, and that we offer to our customers, are perennials and will come back every year, but their lifespan is shortened. You can expect that they may come back for several years, but you won’t see them come back for decades like the older varieties. To make the most out of these beautiful bulbs, allow the foliage to die back naturally every spring, after the blooms are finished. This process feeds the bulb, to help to produce next year’s flower. The more unique the variety, the less likely it is that these bulbs will come back year after year.

When growing bulbs in your home garden, do leave the bulbs in the ground every year after your flowers have finished.
You’ll often see Flower Farmer’s digging up their tulips, bulbs and all, every spring. This process is entirely different, in flower farming tulips are only grown as an annual, which is why the bulbs are dug up every year. We’ll speak more in another article on growing tulips as a cut flower crop. In your own home gardens, do leave your bulbs in the ground.

How to keep the critters from digging up your bulbs
If you're an avid gardener, you've probably dealt with your fair share of pests. From creepy crawlers to rodents, these critters can hinder your attempts at gardening and add a great deal of frustration to the process. The perfect example: squirrels and chipmunks. Common in neighborhoods with old, mature trees, they can be the bane of gardeners who like to plant spring-blooming bulbs such as tulips. If you have an issue with spring bulbs being dug up and eaten, you're in luck—these easy tips will help you protect your garden all season long.

Cover Your Bulbs
One of the most foolproof ways to protect your bulbs from hungry squirrels and chipmunks is to cover the planting area with chicken wire. There are two ways to use chicken wire or hardware cloth to protect your bulbs. You can cut a section of the material that's large enough to cover the overall size of the planting area. Lay it on top of the soil after you have planted the bulbs and secure it in place with stakes or by weighing it down with rocks or bricks. Cover the material with mulch or shredded leaves to hide the wire. Bulb stems will grow through the holes in the chicken wire or hardware cloth, but the bulbs themselves will be protected from digging critters. This technique works best in open areas where you won't have to work around perennials or other plants.
Alternately, you can use chicken wire or hardware cloth to make simple cages, placing the bulbs inside the cage and then placing the structure in the planting hole. These enclosures are especially effective against tunneling animals, such as voles, that also feed on bulbs.
Use Natural Repellents
Several organic repellents are on the market that might work wonders when it comes to keeping critters out of your garden. There is no need to limit your purchases to just squirrel and rodent repellents, organic deer repellents can also be effective. Another natural repellent method that's effective against squirrels is red pepper flakes. A liberal sprinkle over planted bulbs can do an excellent job of discouraging hungry squirrels from digging. Placing pet hair around the freshly disturbed ground also keeps other animals away.
Add Sharp Gravel
If you're planting bulbs in an established garden bed, consider adding sharp gravel to the surrounding soil. When squirrels encounter jagged material, they'll often leave to find a new place to scavenge. You can find sharp gravel in home improvement centers or landscape supply yards (it's typically used to provide drainage under paved surfaces). Crushed oyster shells, which have an unpleasant gritty texture, might also stop squirrels from digging. Adding pine cones around fresh plantings also keeps critters away, as they don’t like to walk on these sharp objects.
Delay Planting Time
Keep your bulbs safe from the critters you encounter! The squirrel and chipmunk feeding frenzy typically peaks in early fall and begins to quiet down by late October when the rodents have already stored away most of their winter food supply. If possible, plant your spring-blooming bulbs somewhat later in the season, when squirrels are no longer desperately filling their stores for winter. You can plant bulbs into early November in most parts of Canada. As long as the ground isn’t frozen solid and you can still get a shovel in, you can still plant!

Planting tulips and daffodils in the garden in the fall is always such a pleasure because, as gardeners, we KNOW just how beautiful the spring will be if we do the work now. We hope these tips will help you create a spring garden full of joy.
